Painting the interior of your home can dramatically enhance its look and feel, giving your rooms a fresh, inviting atmosphere. But achieving a flawless and durable paint job requires thorough preparation. Without the right steps, your project may suffer from uneven finishes, peeling paint, or lasting imperfections. This detailed guide will walk you through nine essential steps to prepare your home for interior painting, making sure your project is smooth, efficient, and results in beautiful walls you’ll love for years.
Step 1: Clear the Rooms Completely
Before you pick up the brush, it’s crucial to prepare your space by clearing out as much furniture and belongings as possible. Moving everything out allows for full access to the walls and reduces the risk of damage to your belongings. If you can’t remove all the furniture, group it in the center of the room and cover thoroughly with drop cloths or plastic sheets to protect against paint splatters and dust.
Furniture Removal and Storage Tips
Removing furniture is one of the most important yet overlooked steps. When you move everything out, you give yourself ample space to move safely and prevent accidents. For larger or heavier pieces that can’t be moved easily, placing them in the center and covering well with sturdy plastic or canvas drop cloths ensures they stay clean. Properly protecting your furniture saves you from costly repairs or cleaning after the job is done.
Removing Wall Hangings and Fixtures
Don’t forget to take down any pictures, mirrors, curtains, and light fixtures from the walls before painting. These items can obstruct your painting and risk damage if left hanging. Also, removing switch plates, outlet covers, and hardware gives you a clean surface to work on, preventing paint build-up around edges and ensuring a neat finish.
Step 2: Protect Floors and Other Surfaces
Protecting your floors and other fixed features is critical to maintaining your home’s condition during painting. Floors can be easily damaged by spills or dropped paint supplies, so covering them thoroughly is non-negotiable.
Floor Protection Materials
Invest in quality drop cloths or plastic sheeting designed for painting projects. Unlike household items like newspapers, these materials are more durable, prevent paint seepage, and stay in place well. Cover every part of the floor, especially near walls and doorways, to catch drips and dust. Secure the edges with painter’s tape to avoid slips or movement during the job.
Covering Other Fixtures and Hardware
Baseboards, window frames, and door casings also need protection to avoid accidental paint splashes. Use painter’s tape to carefully mask these areas, creating sharp lines and reducing cleanup time. For fixtures like doorknobs, light switches, and electrical outlets that you can’t remove, cover them with plastic wrap or bags secured with tape to keep paint off these functional parts.
Step 3: Repair Walls and Surfaces
The surface condition of your walls directly affects how well the paint adheres and how smooth the finish looks. Taking time to repair damages upfront prevents flaws from showing through after painting.
Fixing Common Wall Issues
Look for holes, cracks, dents, and peeling paint on your walls. Fill small holes with spackling paste or putty and larger damaged areas with drywall compound. It’s important to allow enough drying time for these repairs to fully set before sanding and painting. This preparation ensures your walls are even and sturdy, providing a professional looking result.
Sanding for Smoothness
Once repairs dry, sanding is the next crucial step. Sand the patched areas using fine-grit sandpaper to create a smooth, flush surface that blends with the rest of the wall. This process removes bumps and rough patches that could cause uneven paint application or visible imperfections, helping the paint to adhere uniformly.
Step 4: Clean Walls Thoroughly
Cleaning your walls before painting is essential for good paint adhesion and a clean finish. Dirt, grease, and dust can prevent paint from sticking properly and cause peeling or discoloration later.
Areas to Focus on During Cleaning
Pay special attention to kitchen walls, near light switches, and high-traffic areas that accumulate more grime. Use a mild detergent solution or a specialized wall cleaner to wipe down these surfaces thoroughly. Avoid over-wetting the walls; use a damp cloth and rinse with clean water if necessary to remove any residue.
Drying Time Is Crucial
After cleaning, ensure your walls are completely dry before applying any paint. Moisture trapped under paint can lead to bubbling, cracking, or mold. Proper ventilation and patience during this stage are essential. Open windows and use fans to speed up drying time for the best results.
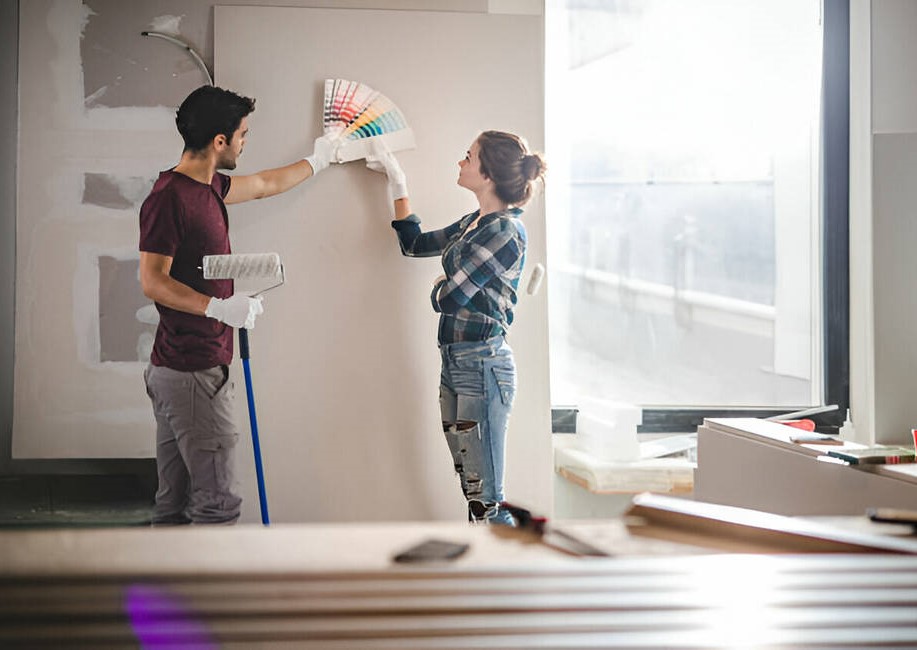
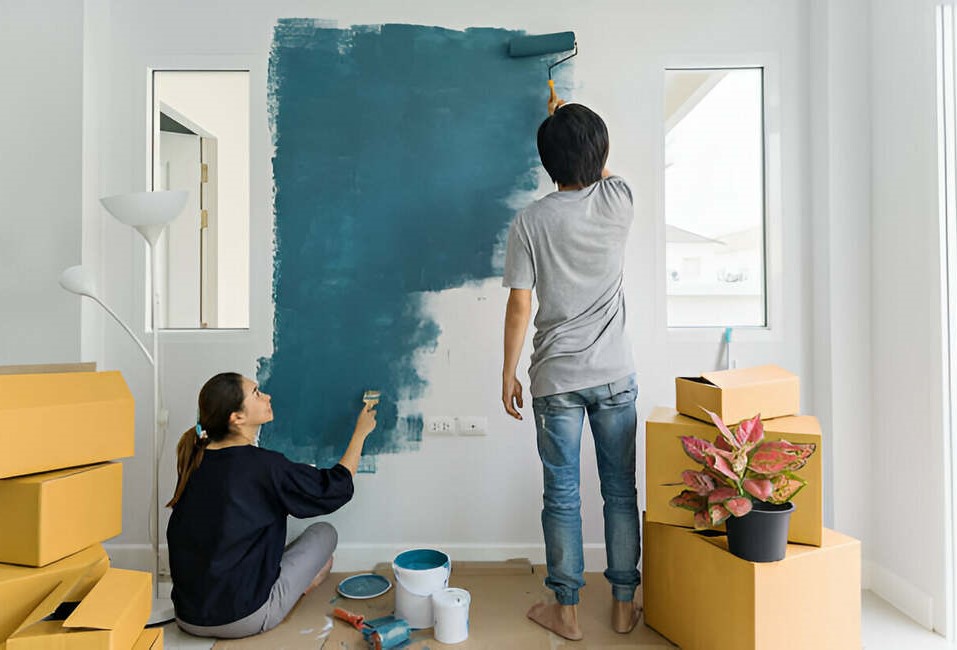
Step 5: Choose the Right Paint Colors and Combinations
The colors you choose set the tone and spark of your rooms, so selecting the right palette is an important creative step in interior painting.
Home Interior Paint Ideas for Different Rooms
Consider the function of each room when picking colors. Bedrooms generally benefit from soothing tones like soft blues or gentle greens, which promote relaxation. Living rooms and social spaces can handle warmer, vibrant colors that energize and invite conversation. Taking lighting and existing furnishings into account helps make the best color choices that complement your home’s style.
Combining Paint Colors for a Cohesive Look
For a sophisticated home interior painting design, use complementary or analogous color schemes that tie rooms together. Accent walls can add personality and depth without overwhelming the space. Test paint samples on your walls and observe how they look at different times of the day to ensure your color combinations create the ambiance you desire.
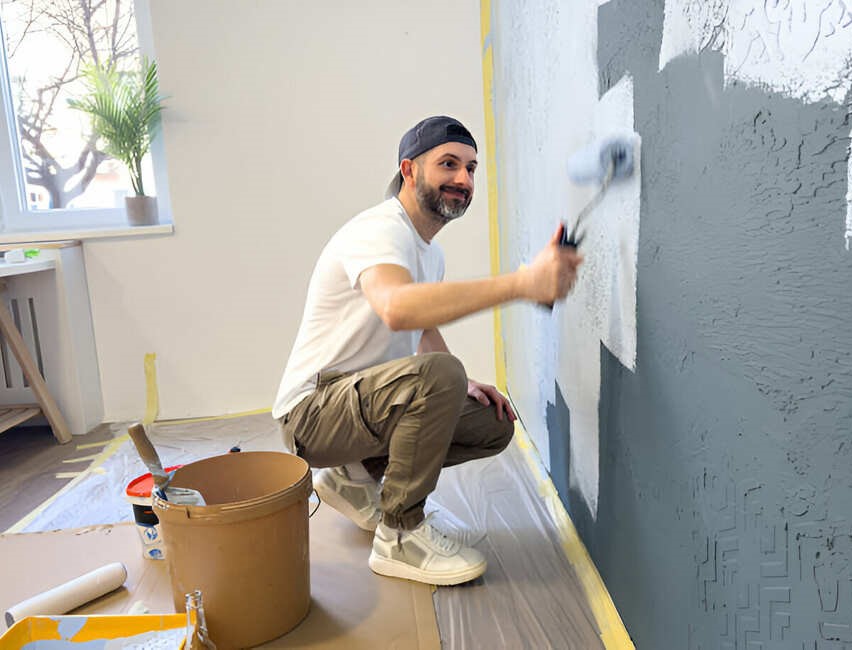
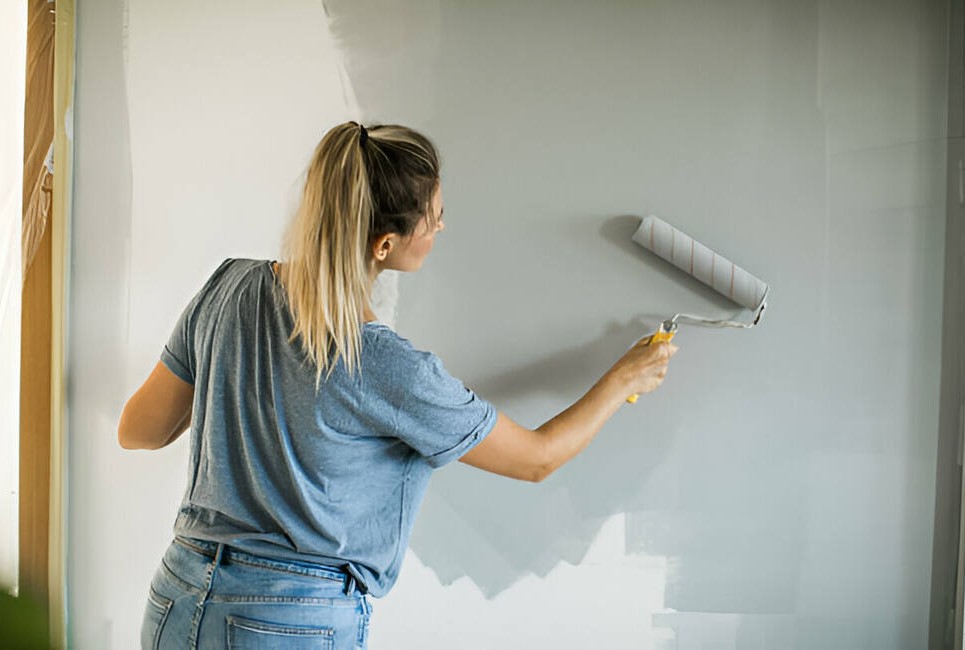
Step 6: Prepare for Painting with Proper Tools
Having the right tools and knowing how to use them can significantly impact the quality and efficiency of your painting project.
Proper Tape Application Techniques
Painter’s tape is essential for creating sharp edges along trims and ceilings. Applying it correctly ensures clean lines without paint bleeding under the tape. Press the tape firmly and remove it at the right time, ideally while the paint is slightly wet or just dry, to avoid peeling the fresh paint.
Choosing the Right Painting Tools
Selecting quality brushes and rollers suited for your wall texture and paint type makes a big difference. Angled brushes help cut in along corners and edges with precision. Rollers come in various sizes, short for smooth walls, longer for textured surfaces. Using the appropriate tools leads to a smoother application and reduces the need for touch-ups.
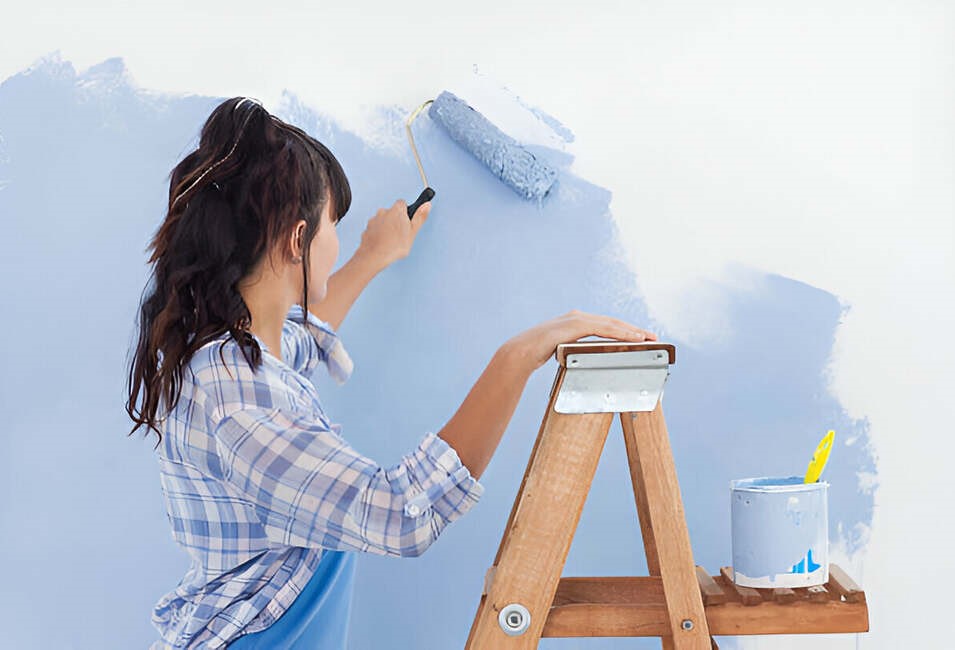
Step 7: Use Safe and Eco-Friendly Paints
Choosing safer paints protects your family’s health and contributes to a better indoor environment.
Health and Safety Tips
Low-VOC (volatile organic compounds) or zero-VOC paints emit fewer harmful fumes and odors, making them ideal for indoor use. These paints provide excellent coverage and durability while being safer for children, elderly family members, or those with sensitivities. Selecting environmentally friendly options shows care for both your home and the planet.
Managing Paint Odors
Even with low-VOC paints, ventilation is key to minimizing odors. Open windows, use fans, and consider natural odor absorbers like vinegar bowls or activated charcoal. These simple steps help maintain air quality during painting and keep your home comfortable.
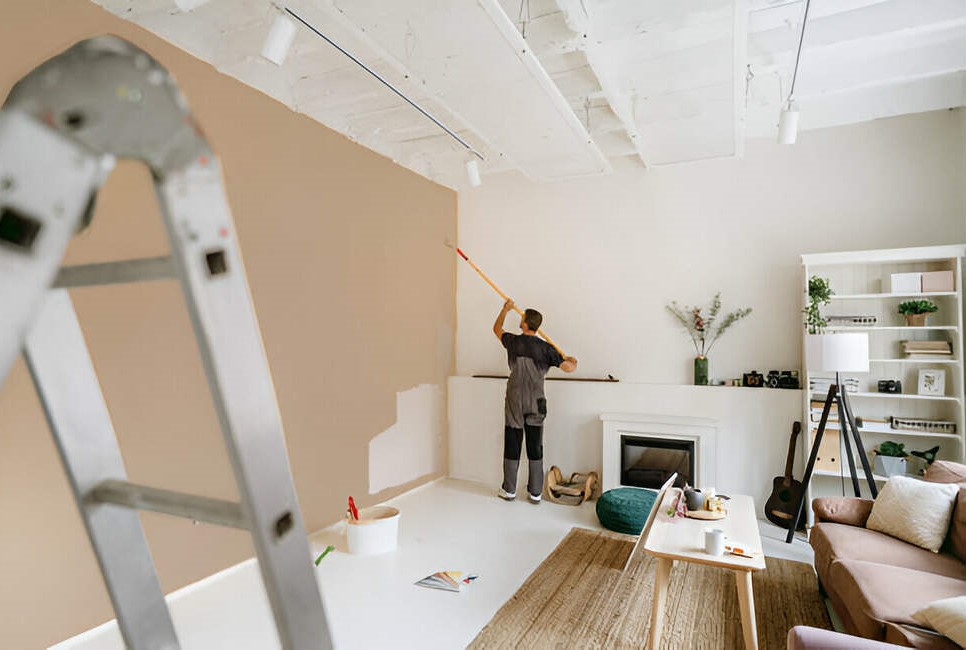
Step 8: Plan Your Painting Schedule Wisely
The timing of your painting project affects how well the paint dries and cures, influencing the final look.
Avoiding Common Scheduling Mistakes
Painting during very humid, cold, or extremely hot weather can cause issues such as longer drying times, peeling, or cracking. Aim for moderate temperatures with low humidity, typically in spring or fall, to get the best results. Avoid rushing the process to let each coat dry properly.
Multi-Coat Painting for Best Results
Applying multiple coats builds richer color and improves durability. After the first coat dries, lightly sanding the walls before applying the next layer ensures smoothness and better adhesion. Patience in this step leads to a professional-grade finish that resists wear and looks great for years.
Step 9: Clean Up and Maintain Your Painted Walls
Proper cleanup and maintenance help preserve your paint job and keep your home looking fresh.
Post-Painting Care Tips
Once you finish painting, carefully remove the painters tape to avoid peeling paint. Clean brushes and rollers thoroughly to maintain their quality for future use. Store leftover paint properly in sealed containers for touch-ups. These habits protect your investment and ensure readiness for any future repairs.
Touch-Up Strategies
Even well-done paint jobs may need touch-ups over time due to chips or scuffs. Keep some paint handy and address these issues promptly to maintain a flawless appearance. Regular care helps your interior walls stay vibrant and fresh, extending the life of your paint.
FAQs About Home Interior Painting
Q1: How long does interior painting usually take?
The timeframe depends on the size of the project and prep needed. A single room typically takes 2 to 4 days, including prep and drying times.
Q2: What is the best time of year to paint indoors?
Spring and fall offer ideal temperatures and humidity levels, helping paint dry and cure perfectly.
Q3: Can I stay in my home during interior painting?
Yes, especially if you use low-VOC paints and ensure proper ventilation, but some rooms may need to be avoided while drying.
Why Choose Group DL LLC for Your Interior Painting Needs?
Group DL LLC is recognized as the best handyman company offering reliable, affordable, and high-quality interior painting services. Our team of professional home interior painting experts delivers outstanding craftsmanship with attention to detail, ensuring your home looks beautiful and inviting. We specialize as house interior painting specialists, providing tailored solutions to meet your unique style and budget. Trust Group DL LLC to handle your painting project with professionalism, care, and exceptional results every time.