Drywall installation is a key step in creating smooth, durable walls and ceilings. Whether you’re a homeowner planning a renovation or a contractor seeking efficient techniques, these expert drywall installation tips will guide you. Learn how trusted drywall installers ensure clean finishes and long-lasting results every time. These practical tips from professional drywall installation experts will help you avoid common mistakes and achieve high-quality, professional looking results.
Tip 1: Choose the Right Drywall Materials for Your Project
Choosing the appropriate drywall installation material is the foundation of a successful solution. Different rooms require different drywall types to ensure durability and safety. Like moisture-resistant drywall is perfect for bathrooms and kitchens. In contrast, fire-resistant drywall complies with building codes for safety.
Thickness varies depending on application; standard 1/2-inch sheets work for most walls, but ceilings and fire-rated areas often need 5/8-inch drywall. Selecting high-quality sheets can save you time when finishing and reduce imperfections.
Understand Different Types of Drywall
Standard drywall is suitable for most interior walls, but specialized types like mold-resistant or soundproof drywall offer additional benefits. Mold-resistant drywall contains fiberglass mats to prevent spoiled in damp environments. Soundproof drywall minimizes noise transfer between rooms, ideal for bedrooms or offices.
Choose Appropriate Drywall Thickness
The drywall thickness affects strength and finish quality. Thinner sheets, like 1/4-inch, are useful for curves or repairs, while thicker sheets provide enhanced rigidity. Using the right thickness helps prevent sagging, especially on ceilings, and contributes to overall wall stability.
Benefits of Quality Drywall Sheets
Investing in high-grade drywall ensures fewer dents and nail pops later on. Superior drywall is less prone to cracking and warping, providing a smoother surface for mudding and painting. This quality ultimately reduces time spent on repairs and touch-ups.
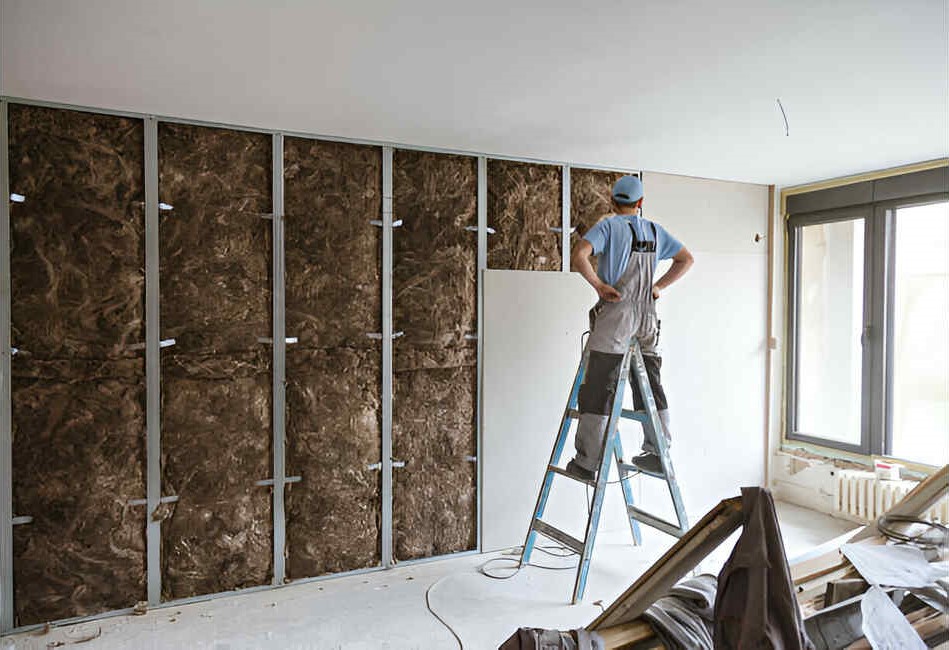
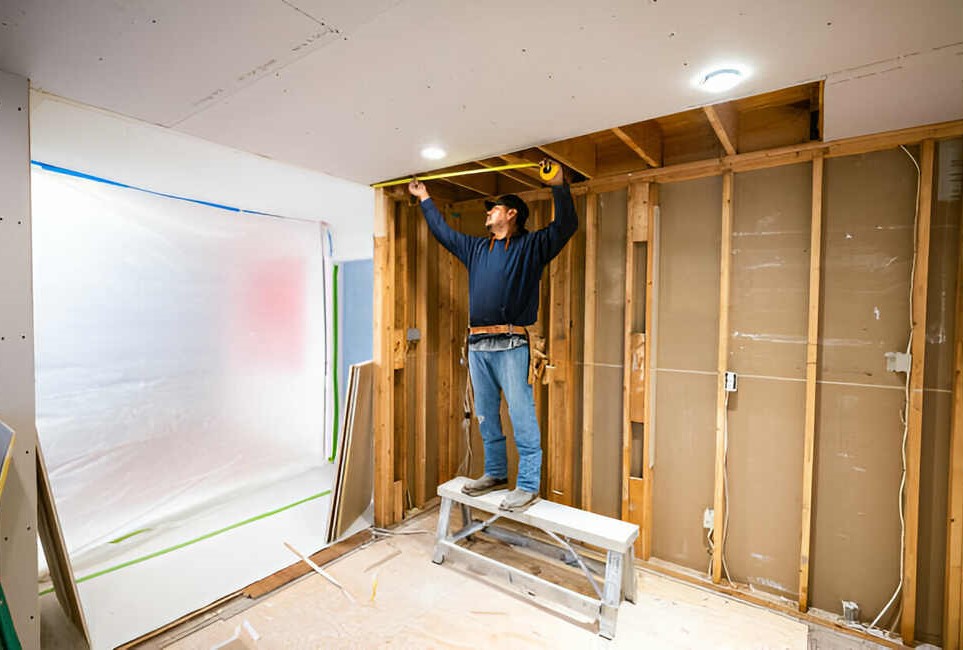
Tip 2: Prepare Your Walls Properly Before Hanging Drywall
Preparation is important for smooth drywall installation and long-term durability. Start by inspecting the framing to ensure studs are straight and securely fastened, creating a stable base for drywall attachment. Warped or loose studs can cause uneven walls and cracks.
Coordinate with electrical and plumbing professionals to confirm all wiring, outlets, and pipes are correctly installed before drywall goes up. This avoids costly rework and damage. Also, install any insulation or vapor barriers needed for energy efficiency or moisture protection.
Inspect Wall Framing and Studs
Make sure all studs are aligned and free from defects. This provides a level surface, preventing uneven drywall and future cracking. Secure loose framing members and remove any obstructions that could interfere with drywall attachment.
Coordinate Plumbing and Electrical Setup
Before installation, ensure all electrical boxes, wires, and plumbing pipes are in their final positions. Drywall is fragile and can be damaged if changes are made later, so completing these steps first saves time and money.
Clear and Prepare the Workspace
A clean, organized work area improves safety and efficiency. Remove debris, old materials, and dust to prevent damage to drywall sheets during handling. Having ample space to cut and maneuver drywall also reduces installation errors.
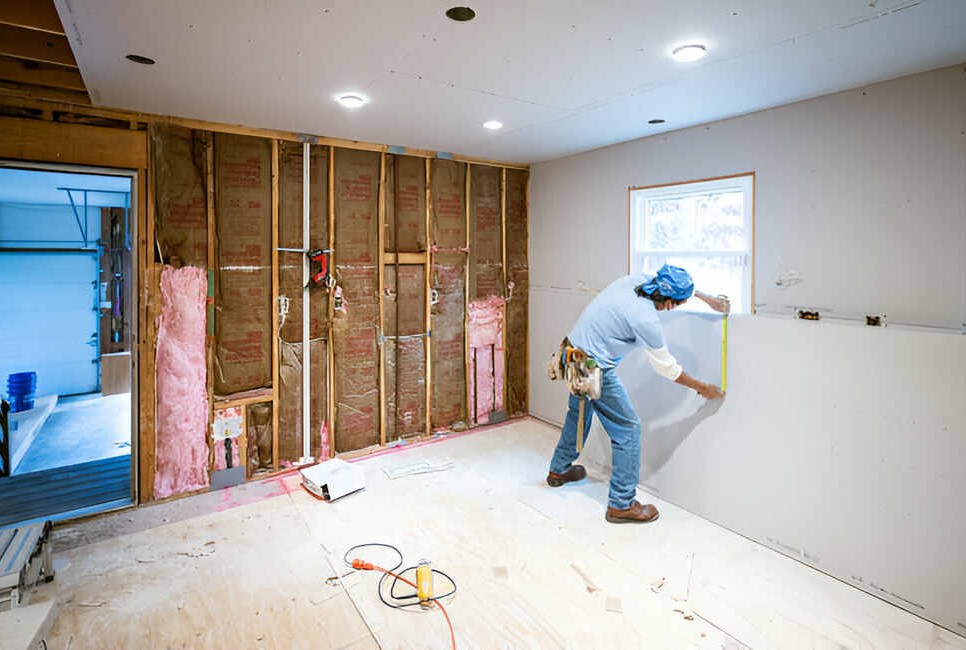
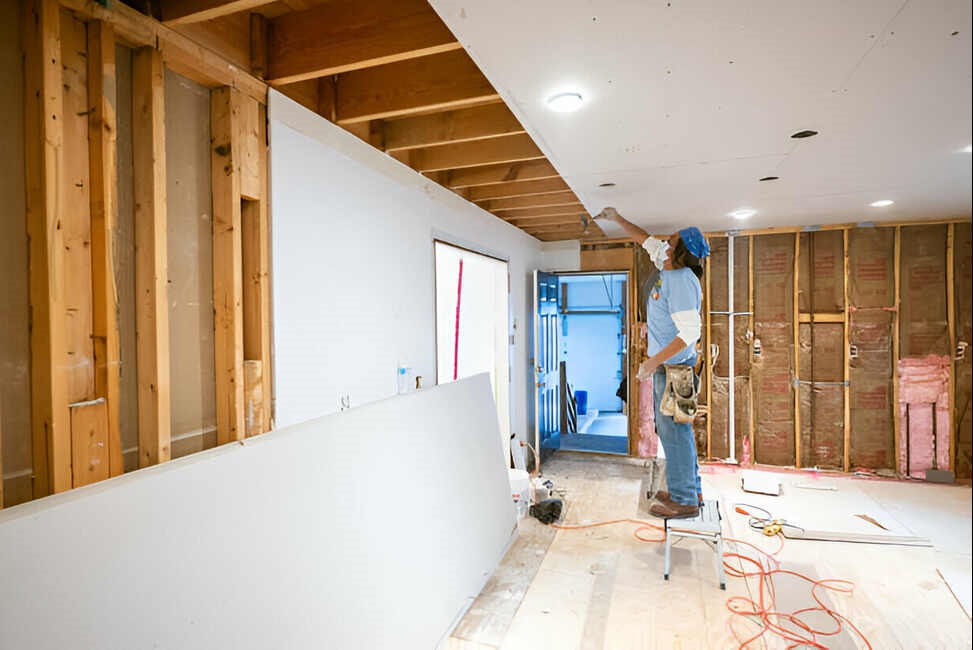
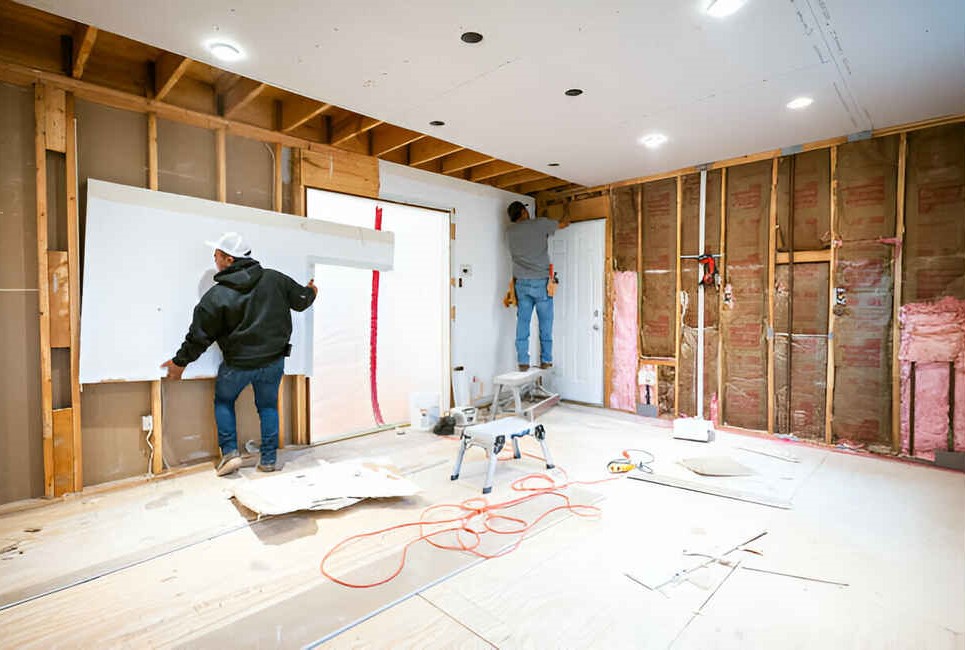
Tip 3: Master Drywall Hanging Techniques
Proper drywall hanging techniques improve the wall’s strength and the finishing process. Start by installing ceiling panels first, as they provide support and alignment for wall sheets. Hanging drywall horizontally on walls, rather than vertically, helps stagger joints and strengthen the structure.
Use drywall screws instead of nails for a more secure hold, and ensure screws are driven just below the surface without breaking the drywall paper. Damaged paper weakens joints and causes poor finishing results. Accurate measurements and careful cuts prevent gaps and reduce patching work.
Start with Ceiling Panels
Installing drywall on the ceiling first helps anchor wall sheets and reduces gaps. Ceilings bear extra weight, so correctly installed panels prevent sagging or cracking later on.
Use Screws for Secure Attachment
Drywall screws offer a stronger hold and are less likely to pop out compared to nails. Proper screw depth ensures the drywall paper remains intact, which is essential for smooth finishing.
Measure and Cut Accurately
Taking precise measurements and making clean cuts reduces wasted materials and the need for patching. Use sharp tools and double-check measurements to avoid errors that can slow the project.
Tip 4: Achieve a Smooth Finish with Proper Drywall Taping and Mudding
Taping and mudding create the seamless surface needed before painting or wallpapering. Begin by embedding tape into the first layer of joint compound along all seams to strengthen joints and prevent cracking. Paper tape requires more skill but offers superior durability, while fiberglass mesh tape is easier for beginners.
Apply multiple thin coats of joint compound, sanding lightly between each to smooth out imperfections. Patience is key, as rushing this process can lead to uneven surfaces and visible flaws. A flawless mud job is what makes drywall look professionally finished.
Choose the Right Joint Tape
Paper tape is traditional and provides strong reinforcement, but demands skill to avoid bubbles. Fiberglass mesh tape is self-adhesive and easier to apply, making it ideal for quick repairs or DIY projects.
Apply Joint Compound in Thin Layers
Multiple thin coats prevent cracking and shrinkage compared to one thick layer. Let each coat dry fully before sanding and applying the next to achieve a smooth surface.
Sand and Feather Edges
Sanding smooths ridges and blends edges into the drywall surface. Feathering the edges of the compound prevents noticeable lines after painting, ensuring a polished finish.
Tip 5: Use Proper Drywall Finishing Tools
Having the right tools can save time and improve the quality of your drywall finish. Taping knives in various sizes help spread mud evenly and reach corners easily. A mud pan keeps joint compound accessible and prevents drying out mid-task.
Corner tools create clean inside and outside angles, which are some of the trickiest parts to finish well. Pole sanders make sanding large areas easier and help maintain consistent pressure for even smoothing. Wearing a dust mask is essential during sanding to protect your lungs from fine particles.
Essential Taping Knives and Mud Pans
Different sized taping knives allow you to handle both small joints and wide areas effectively. Mud pans keep the compound fresh and minimize waste during application.
Specialized Corner Tools
Corner knives and tools ensure sharp, clean edges on inside and outside corners. These make finishing look professional and prevent cracks or gaps.
Sanding Equipment and Safety Gear
Pole sanders speed up sanding large surfaces and reduce fatigue. Always wear a dust mask or respirator to avoid inhaling drywall dust, which can cause respiratory irritation.
Tip 6: Safety Tips During Drywall Installation
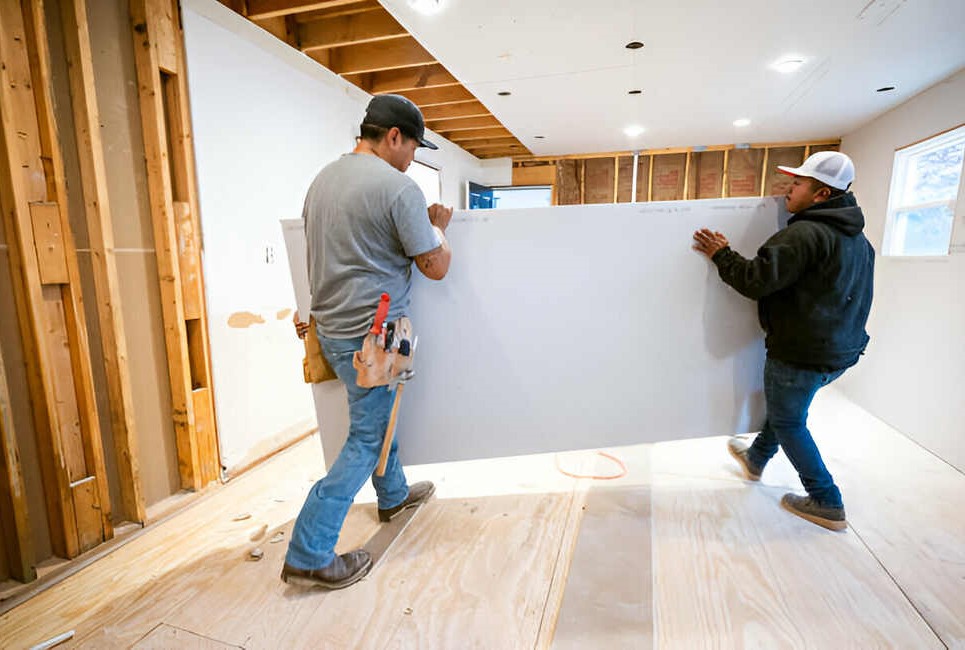
Drywall work involves risks such as heavy lifting, dust exposure, and working at heights. Wearing personal protective equipment like safety goggles, gloves, and a dust mask helps prevent injury. Handling large drywall sheets requires proper lifting techniques to avoid back strain or accidents.
Ensure ladders and scaffolding are stable and secure before climbing. Maintain a clean workspace free of tripping hazards to reduce accidents. Taking safety seriously protects you and anyone else on site, ensuring the project runs smoothly.
Personal Protective Equipment (PPE)
Use eye protection to guard against dust and debris. Gloves protect hands from cuts, and respirators prevent inhalation of fine particles during sanding.
Proper Lifting Techniques
Lift with your legs, not your back, and get assistance with heavy drywall sheets to avoid injury. Use drywall lifts or carts if available to ease the process.
Maintain a Safe Work Environment
Keep walkways clear, tools organized, and work areas tidy. Secure ladders and scaffolds on stable ground to prevent falls.
Tip 7: Incorporate Drywall Installation Ideas for a Stylish Finish
Drywall isn’t just about flat walls, there are creative ways to enhance your space. Textured finishes like knockdown or orange peel add character and can hide minor imperfections. You can also integrate built-in niches and shelves for extra storage and architectural interest.
Careful planning around electrical outlets and lighting ensures a clean, professional look without awkward cuts or gaps. These design ideas elevate your room and make drywall part of the overall aesthetic.
Textured Drywall Finishes
Techniques like knockdown or orange peel create subtle textures that add depth and style. These finishes also help conceal small flaws or uneven areas.
Built-in Storage and Architectural Details
Recessed shelves or niches maximize space and add functional design elements, especially useful in bathrooms or living rooms.
Plan for Electrical and Lighting Integration
Position outlets and fixtures thoughtfully to avoid cutting drywall after installation. Proper planning leads to neat, finished walls that showcase your design.
Tip 8: Troubleshooting Common Drywall Installation Problems
Even experienced installers face challenges such as cracks, nail pops, and uneven surfaces. Cracks usually appear from house settling or improper fastening; fixing them involves reattaching loose screws and filling cracks with joint compound. Nail pops occur when nails or screws work their way out, often fixable by replacing nails with screws and patching.
Uneven surfaces may result from bowed studs or inaccurate hanging; shimming or extra mudding can help. Water damage is a serious issue, affected drywall should be removed and replaced quickly to prevent mold growth.
Fixing Cracks and Seams
Identify and repair cracks early with proper mudding and reinforcement. Use fiberglass tape on problematic joints to add strength.
Preventing and Repairing Nail Pops
Switch to screws instead of nails for better holding power. Repair popped fasteners promptly to avoid further damage.
Addressing Uneven Walls and Water Damage
Use shims to correct minor bowing, and patch as needed with joint compound. Replace drywall damaged by moisture to protect structural integrity and indoor air quality.
Tip 9: Hire Professional Drywall Installation Specialists When Needed
While DIY drywall installation can save money, professional installers offer expertise that ensures a flawless finish. Experts like Group DL LLC provide precise measurements, proper fastening, and smooth finishing that meet building codes and last longer.
Hiring professionals saves time and stress by avoiding common pitfalls and costly mistakes. For complex jobs or when quality matters most, relying on skilled drywall installers guarantees superior results and peace of mind.
Benefits of Hiring Professionals
- Professionals bring experience
- Efficient tools
- Knowledge to complete projects correctly,
- Reducing callbacks and repairs
When to Call Experts
Large projects, tricky ceilings, or fire-rated walls often require professional skills beyond DIY capabilities.
Why Choose Group DL LLC?
Group DL LLC stands out as the best drywall installation company because we combine unmatched expertise with affordable pricing to deliver exceptional results every time. Our team of professional drywall installation specialists has years of experience handling projects of all sizes, from small home repairs to large-scale renovations. We use high-quality materials and advanced techniques to ensure smooth, durable finishes that exceed expectations. Customer satisfaction is our top priority, and we work closely with clients to meet their specific needs and timelines. When you choose Group DL LLC, you’re choosing reliability, professionalism, and craftsmanship you can trust for your drywall installation needs